Quick answer
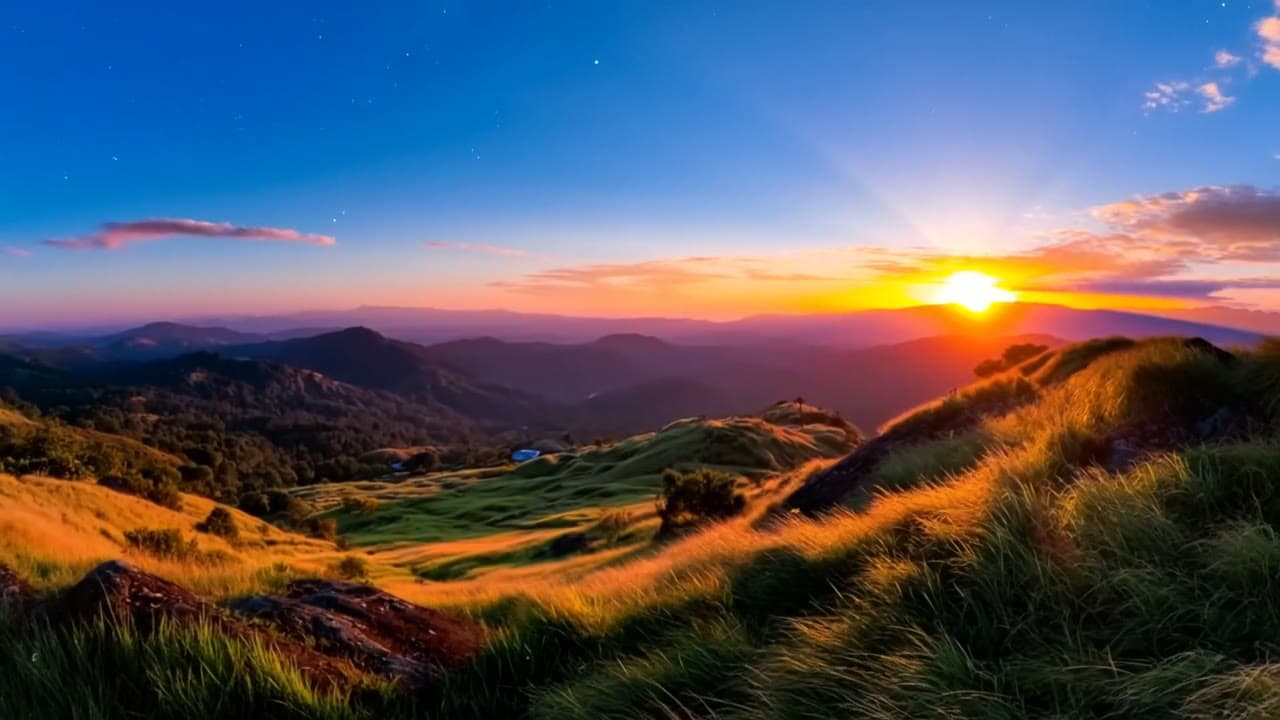
To make a timelapse from one photo, you generate the motion instead of filming it: an AI video model takes the still as a first frame and produces both a camera move and a time-of-day light progression from it. There is no tripod and no interval shooting, because there is only ever one frame. Starrd's Timelapse Studio does it in one upload — pick up to three camera moves, set how many hours should pass (1 to 12), and get a 6 or 10 second MP4 in about three minutes for 20 to 40 credits.
What You're Actually Making
A traditional timelapse is a feat of patience. You mount a camera on a tripod, set an interval, and let it fire for an hour or six while you stand there guarding it. Then you stitch hundreds of frames together and hope the exposure did not step visibly as the light changed.
This is the other route: you start from one photo you already took, and the motion and the changing light are generated from it. No tripod, no interval timer, no stitching, and nothing to guard.
Worth being straight about the tradeoff up front: this is not a recording of a real hour passing. It is a generated interpretation of what that hour would have looked like. For a social post, a title card, or a establishing shot, that distinction rarely matters. For documentation or anything where the footage is evidence, it does, and you should shoot the real thing.
Fastest way — Timelapse Studio does the whole thing from one upload: pick up to three camera moves, set how many hours should pass, and it renders in about three minutes from 20 credits. Want to understand the method first? Read on. ↓
Step 1 — Pick the Right Photo
This is the step that decides whether the result looks cinematic or looks like a slow zoom on a postcard. The model needs two things from your still: depth to move through and sky or lighting detail to change.
What works:
- Landscapes with a clear foreground. A rock, a fence, a path, a tree in front and a horizon behind. The gap between them is what makes a camera move read as three-dimensional rather than as a crop.
- Skylines and city streets. Buildings at varying distances give the move layers to travel past, and windows and streetlights give the light progression something to act on as evening comes in.
- Architecture with height. A tall facade shot from below is ideal for a vertical move, because there is real structure for the camera to climb.
What fights you:
- Close-ups and portraits. There is nowhere for the camera to go, so the only motion available is a scale change.
- A blown-out white sky. If the sky is pure white with no detail, there is nothing there to turn golden or dark. Underexposed skies work far better than overexposed ones.
- Heavy filters and motion blur. Both destroy the fine detail the model uses to work out what is in front of what.
If you are choosing between two photos, pick the one with more distance in it. Depth beats sharpness here. A slightly soft shot with a real foreground and a real horizon will produce a better move than a tack-sharp flat one.
Step 2 — Choose the Camera Move
A named camera move is a concrete instruction. "Make it cinematic" is not. There are thirteen moves available, in six opposing pairs plus static, and you can stack up to three.
The short version of which to reach for:
| Your photo | Move to try | Why |
|---|---|---|
| Wide landscape, strong horizon | Truck left or truck right | Travels sideways across the scene, so the foreground slides past the background and the depth reads |
| One clear subject to arrive at | Push in | Closes distance on the subject; the classic "settle into the shot" move |
| Big scene you want to reveal | Pull out | Starts tight and opens up, which turns the reveal itself into the payoff |
| Tall building or cliff face | Pedestal up or tilt up | Climbs or cranes the frame to sell height |
| Busy scene, lots to look at | Pan left or pan right | Rotates in place, like turning your head, so it surveys without travelling |
| Already perfectly composed | Static | Locks the frame and lets the light do all the work |
Opposing moves cancel: you cannot pan left and pan right in the same clip, and picking one side deselects the other. That is a guardrail, not a limitation. Two moves that fight each other produce mush.
If you want to see every move with a reference clip before deciding, the camera movements library has all of them, and the 13 timelapse moves covers which combinations actually hold together.
Step 3 — Set the Hours
This is the control that makes it a timelapse rather than an animated photo, and it is the one most people leave at the default.
The hours setting says how much time the clip should compress. It does not change how long the video runs, which stays at 6 or 10 seconds either way.
- 1 to 3 hours — shadows lengthen, the colour temperature drifts warm. Subtle. Good when the photo is already at a nice time of day and you do not want to lose it.
- 4 to 8 hours — a clear, visible journey. The most useful range for most photos.
- 9 to 12 hours — pushes toward a full day-to-night swing, with the sky doing dramatic work. Best on a scene shot in the afternoon, so there is somewhere for the light to go.
The ceiling is 12. Setting anything higher in your head does not help; the range is what the model is tuned against.
Photographers call the day-to-night version the hardest timelapse to shoot, because a real one needs the exposure ramped smoothly across the whole sequence as the light drops by many stops. Every guide about it is really a guide about solving that problem. Here it is a slider, which is either wonderful or slightly unfair depending on how many hours you have spent on a hillside.
Step 4 — Pick Quality, Then Render
Three tiers, and the choice is genuinely about the shot rather than about spending more:
- 720p, 6 seconds (20 credits) — the default, and correct for most social posts. Vertical video on a phone does not reward 1080p as much as you would expect.
- 1080p, 6 seconds (30 credits) — worth it when the scene has fine detail that would mush at 720p, like a dense city skyline or foliage.
- 720p, 10 seconds (40 credits) — buys a longer progression rather than a sharper one. The right pick when the light change is the point and you want room to let it breathe.
Crop to 9:16 or 16:9 before you render, because the crop sets the output aspect ratio. Cropping afterwards throws away pixels you paid for.
Rendering takes about three to five minutes.
Timelapse Studio
One photo in, a cinematic timelapse out. Pick up to 3 camera moves, set how many hours pass, and get a 6 or 10 second MP4. No tripod, no stitching, no prompt to write. From 20 credits.
Common Problems and What Causes Them
It looks like a zoom, not a timelapse. Either the photo is too flat for the camera to travel through, or the hours are set too low for the light to do visible work. Fix the photo first; it is almost always the photo.
The sky does nothing. Check whether the sky in your original is blown out to white. There is no detail there to change. Reshoot with the sky exposed properly, even if it makes the foreground dark, since shadows recover and highlights do not.
The move goes the wrong way. Opposing moves are separate picks, so truck left and truck right are different selections rather than a direction toggle you might have missed. Choose the other side of the pair.
It warps or bends at the edges. Usually too many moves stacked. Drop to one, confirm it looks right, then add a second only if it genuinely adds something.
When You Should Actually Shoot It Instead
Generating one is the right answer most of the time, but not always.
Shoot the real thing when the passage of time is the point and needs to be true: construction progress, a plant growing, a job you are documenting for a client, anything where somebody may reasonably ask whether it really happened. Shoot it too when you want a specific event, like a particular sunset on a particular evening, because a generated version will give you a sunset rather than that sunset.
Generate it when you have one good photo and want it to move: a travel shot, an establishing beat for a video, a title card, a post. Those are cases where nobody is asking the footage to be evidence, and where the alternative is that the photo just sits there.
Related Reading
- The 13 timelapse camera moves, and when to use each — the move vocabulary in detail, with reference clips.
- Camera movement prompts for AI video — the full 42-move library this vocabulary comes from.
- Timelapse Studio — the tool itself.
- How to turn a Zillow listing into a video — the same idea aimed at a property: a whole gallery of photos animated and cut together, rather than one photo carrying a whole clip.